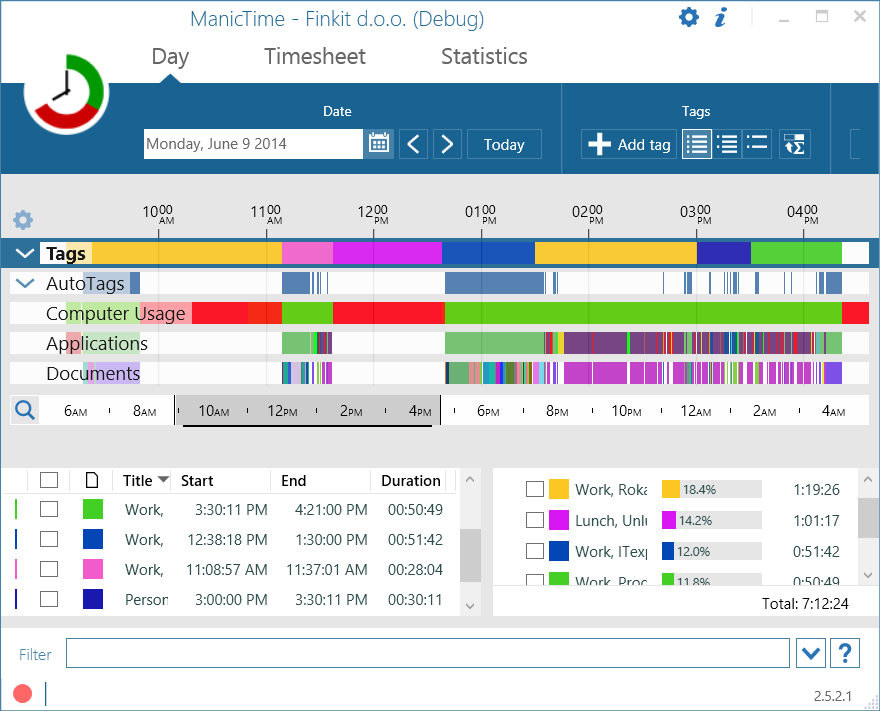
There is not much to say about this feature, but since everybody will notice it, we should write a few words. Hopefully the new design is better than it was.
|
|
New look (default style)
|
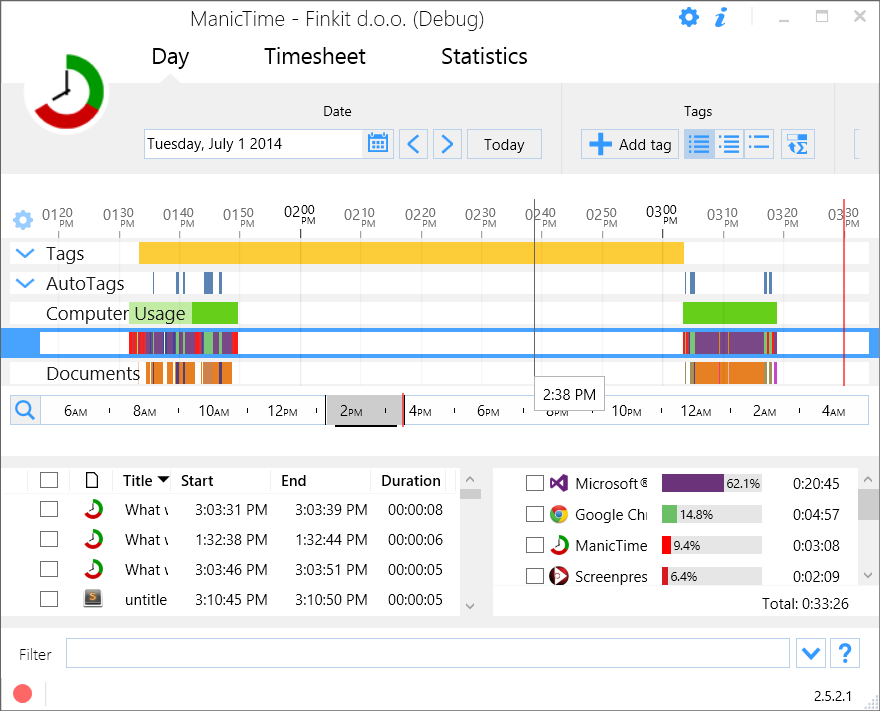
There are two themes, Default and Windows.
|
|
New look (Windows style)
|
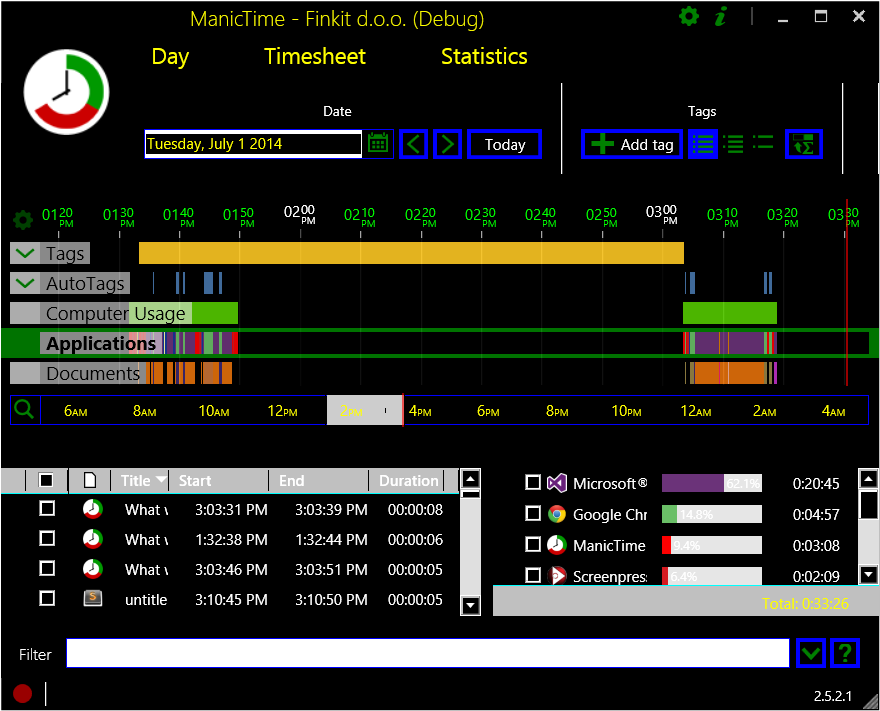
We worked on Windows theme mostly for the users who use High contrast themes. The idea is that it leans on Windows colors as much is it can, so that when you change windows theme, ManicTime has consistent look with the rest of Windows.
|
|
New look (Windows style, high contrast)
|
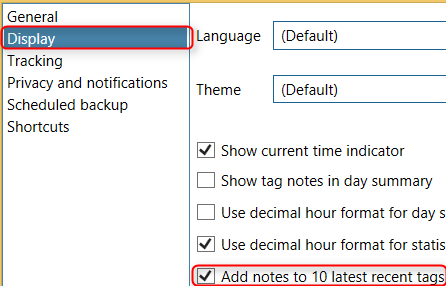
You can change the theme in Settings -> Display
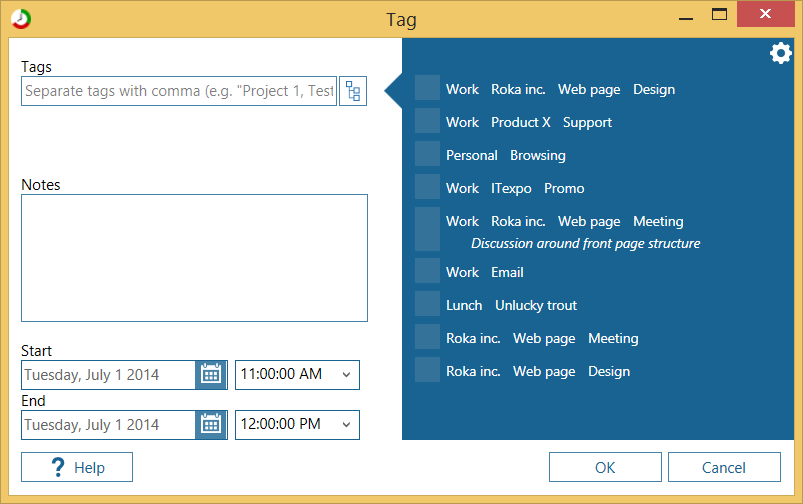
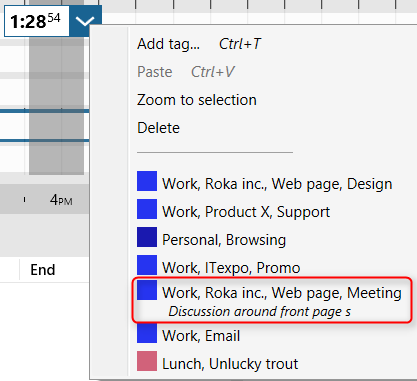
We redesigned the Add tag window so that it now shows recent tags with notes. In previous versions old notes and tags were separated and if you’ve used Notes this was a common source of frustration.
Now recent tags show notes as well, so it is much easier to select previously used tag with notes.
|
|
New Add tag window
|
A few tips:
- If you type in tag textbox, tags on the right will be filtered.
- Same with notes, if you type into Notes textbox, notes on the right will be filtered.
- To quickly choose a previously used tag you can double click on the rectangle on the left side of tag.
|
|
Double click to select tag
|
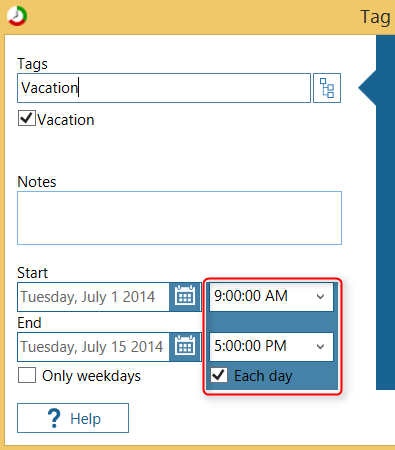
In previous versions it was also impossible to add tags on multiple days only at specific hours. Now you can for example add
Vacation, 1.Jul-15.Jul, 9AM-5PM only on weekdays.
|
|
Create tags spanning multiple days only at specific hours
|
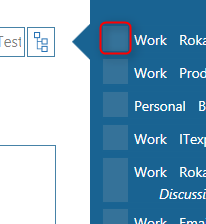
There is also a new setting to show 10 recent tags with or without notes.
If you uncheck it, notes will NOT be added to recently used tags.
|
|
Setting - Show 10 recent tags without notes
|
|
|
Show 10 recent tags with notes
|
We've heard from a number of customers that they would like to have a predefined set of tags.
These can be imported from other systems, like issues on GitHub or Jira, or maybe todo list from any number of apps.
Up until now you could only get a set of predefined tags from ManicTime Server. We designed this in an open, plugin kind of way, so that in time
you will be able to import todo lists from any todo app or site and present them as tags within ManicTime.
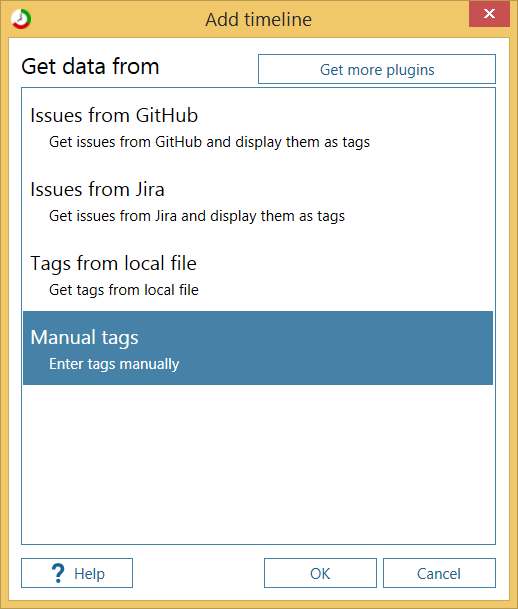
Now you can add pre-existing tags from these sources:
- Import issues from GitHub and present them as tags
- Import issues from Jirra and present them as tags
- Get them from local file
- You can enter them manually
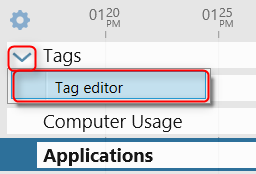
To add tags from other sources, open Tag editor -> Tag sources.
|
|
Open Tag editor to add a new tag source
|

|
|
Add a new tag source
|
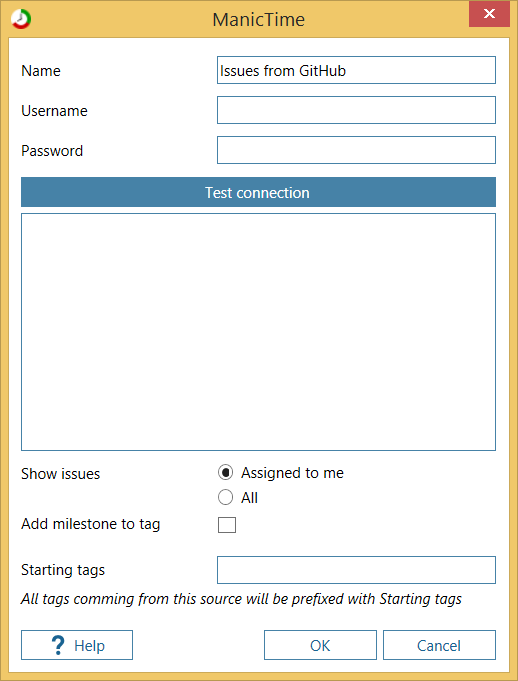
Import from GitHub
Issues from GitHub will show up as tags within ManicTime. To setup a connection, you need to provide your username and password on GitHub.
Once you do, you can choose repositories from which issues will be imported.
Issues will have the following format in ManicTime:
[repository name], [milestone], #[no. of issue - name of issue]
Milestone will only be added if you choose Add milestone to tag.
You can leave starting tags empty. Whatever you write in Starting tags will be prepended to issue.
For example you can write Work, then all issues will start with Work....
|
|
GitHub connection
|
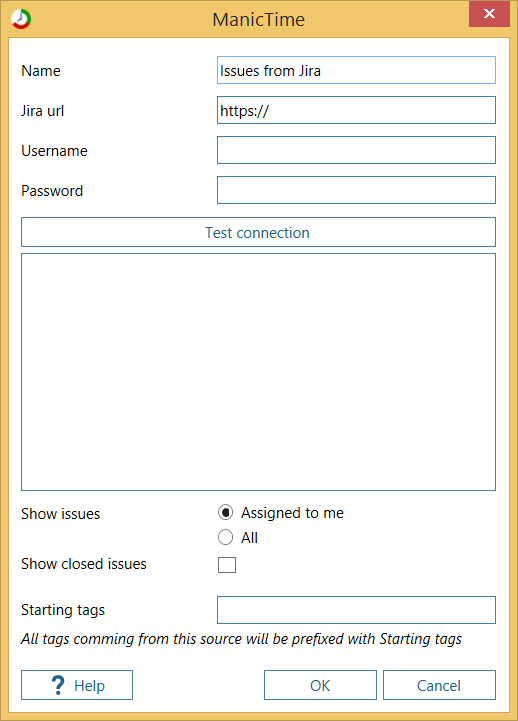
Import from Jira
Issues from Jira will show up as tags within ManicTime. To setup a connection, you need to provide your username, password and a url to your site
within Jira. You need to provide only url to site, for example:
https://manictime.atlassian.net/
Once you do, you can choose projects from which issues will be imported.
Issues will have the following format in ManicTime:
[project name], #[no. of issue - name of issue]
You can choose to also add closed issues.
You can leave starting tags empty. Whatever you write in Starting tags will be prepended to issue.
For example you can write Work, then all issues will start with Work....
|
|
Jira connection
|
Manual entry and local file
Manual entry and local file work in the same way, so you can use the same syntax for both.
|
|
Add a new manual entry tag source
|
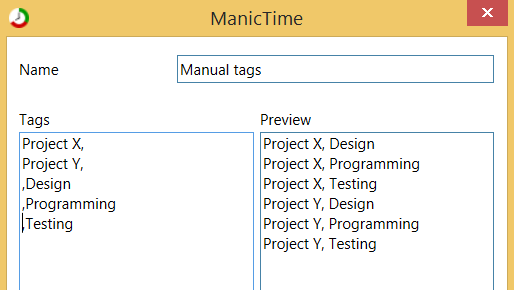
Put each tag group on its own line, tags are separated by comma.
Client 1, Project X, Activity 1
Client 2, Project Y, Activity 2
You can use partial tags for easier tag generation. Lets say each project has subtags Design, Programming, Testing. You can use:
Project X,
Project Y,
,Design
,Programming
,Testing
This will create the following tags:
Project X, Design
Project X, Programming
Project X, Testing
Project Y, Design
Project Y, Programming
Project Y, Testing
|
|
Define tags in manual entry tag source
|
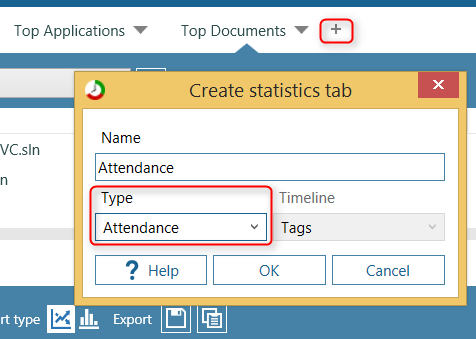
There is a new view in statistics - Attendance view.
|
|
Add Attendance view
|
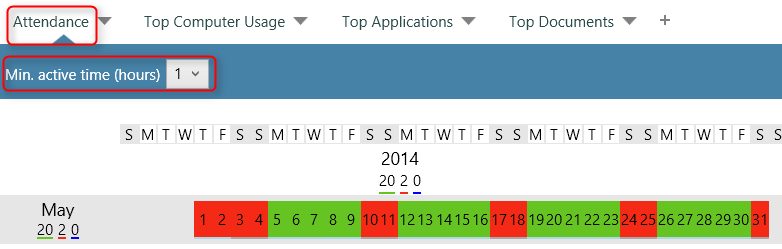
By default, days marked with green are the ones when there was more than an hour between first and last interaction with the computer.
For example, a day with:
Start time: 9:30 AM
End time: 11:30 AM
Duration 2:00:00
would be marked with green. You can set Minimum active time to some bigger number, by default it is set to 1.
|
|
Attendance view
|
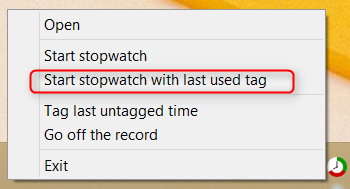
Start stopwatch with last tag
Auto start the stopwatch with the last tag you’ve used for stopwatch. You can use a shortcut key.
|
|
Start stopwatch with last tag
|
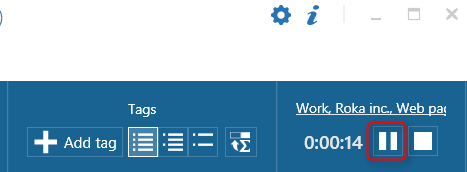
Pause-resume stopwatch
You can now pause the stopwatch. When you pause, current tag will be saved and shown in the UI. You can use a shortcut key.
|
|
|
Pause-resume stopwatch
|
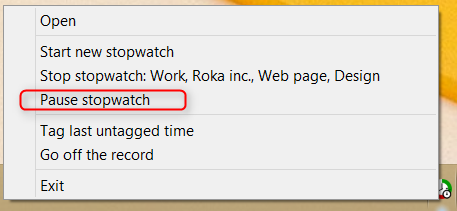
Pause-resume stopwatch on system tray icon
|
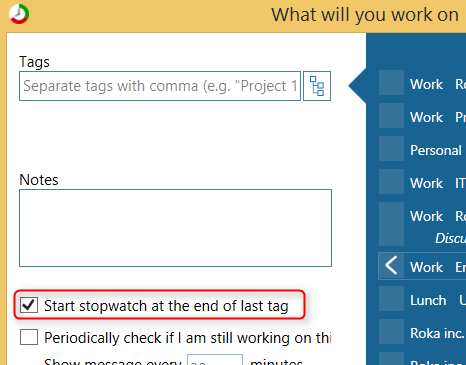
Start at end of last tag
When you start a stopwatch, you can check that it starts at the end of the last tag. If there is no previous tag on this day, it will start at current time.
|
|
Start stopwatch at end of last tag
|
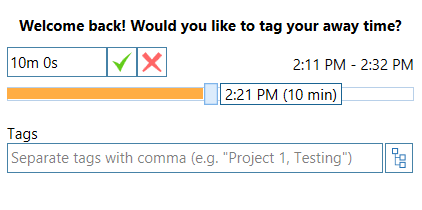
Easier duration editing
If you were doing more than one thing during the Away, you probably don’t want to assign the whole Away time to the same tag. In previous versions you could click on the Duration and modify the Duration. We made this more explicit and you can also now use a slider to choose easily modify the duration.
Once you modify the duration, Away time dialog will show up until all duration has been filled.
Away window help
|
|
Away view - easier duration editing
|
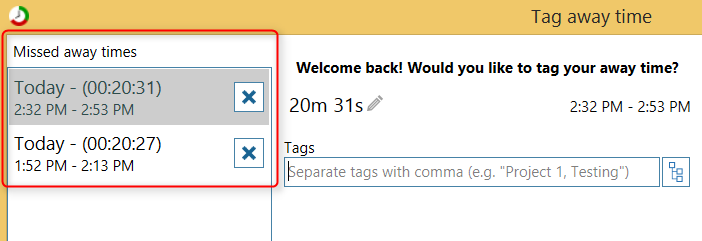
Missed away times
In previous versions, if you did not act on Away view dialog before the next one was shown, the previous one was lost.
For example:
- Away dialog is shown
- User doesn’t choose the tags
- Another Away time is triggered, times are changed to the last Away time
- User assigns tags to the last away time, but the previous one is lost
MT will now show missed Away times and you can assign tags to them.
|
|
Away view - missed away times
|
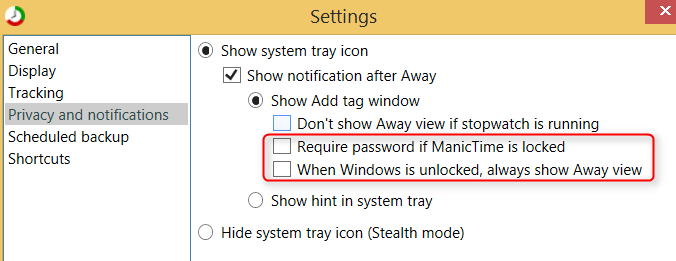
Additional Away view settings
In Settings -> Privacy there are two new settings:
- When Windows is unlocked, always show Away view - if you check this, MT will show Away view always after unlocking Windows. By default it shows it only if the computer was locked for more than the inactivity time limit (usually 10 minutes).
- Require password if ManicTime is locked - If you uncheck this, MT will not ask for a password when it shows Away view (by default this is checked and MT will always ask for password).
|
|
Away view - additional settings
|
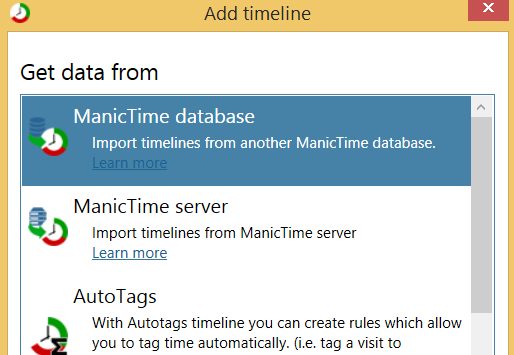
Although you can use ManicTime server to share data between clients, it can be an overkill to set it up for some simple home scenarios.
If you just want to combine the data from two databases, lets say create a timehseet from two locations, you can use the new ManicTime database plugin.
To add it, go to Timelines editor, Add a timeline and choose ManicTime database.
|
|
Add ManicTime database connection
|
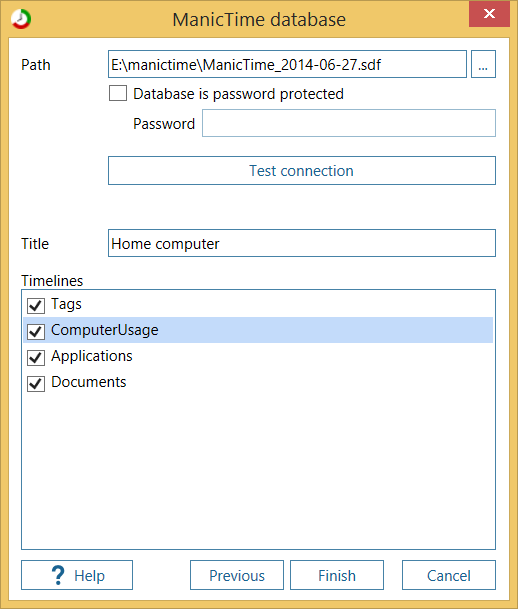
Once you enter the location of the database, click Test connection and choose the timelines you would like to import.
For timesheet you only need to import the Tag timeline.
|
|
ManicTime database connection
|
The data will be read from the database you specify, so to call it an import is not entirely true.
If you want to use a newer backup you can just close ManicTime, copy new backup over the old one and start it again.
MT will then use the new database and load the new data.
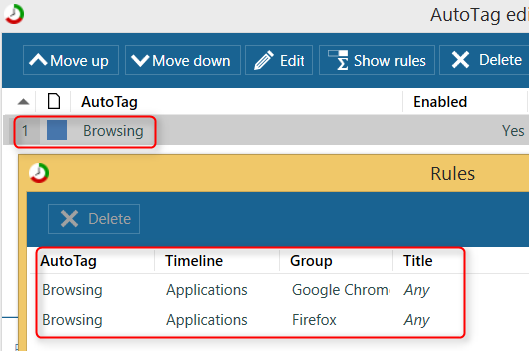
This one is best explained on an example. Lets say you have autotag Browsing, which is hit if you use either IE, Firefox or Chrome.
|
|
Browsing autotag
|
This works ok, but how about if you want to know how much time was spent on each of the browsers? Previously you would need to make autotags:
Browser, IE - when using IE
Browser, Firefox - when using Firefox
Browser, Chrome - when using Chrome
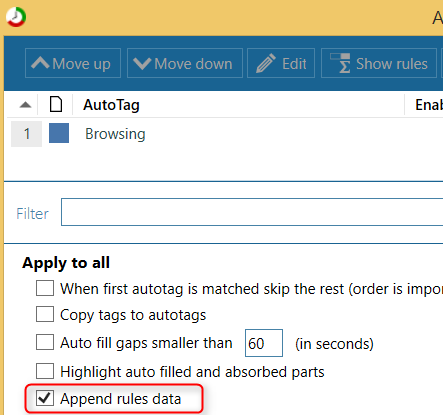
Now you can just check Append rules data and MT will automatically append this data, so you don’t have to make a lot of extra autotags.
|
|
Autotags - Append rules data setting
|
|
|
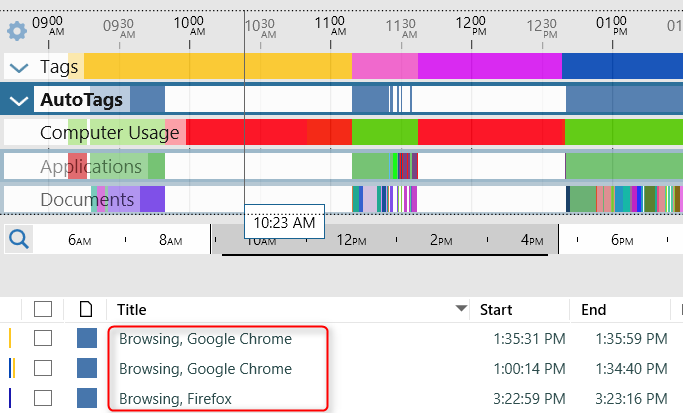
Autotags - Browsing autotag with rules appended
|
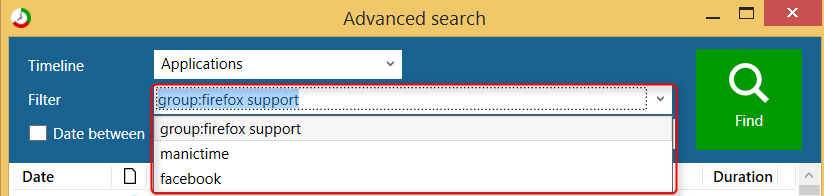
Search view now remembers recent searches.
|
|
Search view - recent searches
|